Tuesday, January 5, 2016

The third hat, or embiggening the sailor's cap

My beautiful Mary Rose sailor's cap was too small for its intended recipient. What to do - but make another!

First, I'd like to clear up some assumptions, about the needles and yarn chosen for the hats. If you just want to see the hat, scroll down.

Knitting needles
  • I primarily use wooden needles – I have found they are comfortable in my hands, and are both slick enough and not too slippery for my use. As these can be knitted fairly comfortably (ie very few ‘tight’ stitches), there isn’t too much strain placed on the wood, so metal needles aren’t required as they may be for knitting very small garments.
  • I use both KnitPro Symfonie (double pointed and interchangeable circular) and Knit Picks Caspian (interchangeable circular) wooden needles.
  • Double pointed needles are seen in a number of 14thC paintings (see the Mary/Madonna paintings – https://en.wikipedia.org/wiki/History_of_knitting#/media/File:KnittingMadonna.jpg )
  • Circular needles were first patented in 1918, in the USA. They may have been used a little earlier in Europe. Knitting in the round negates the need for a purl row, which often speeds up knitting (as most stitches are done in knit). You also don’t need to change needles and hands, as you just continue knitting around, keeping track of where you row begins and ends with a stitch marker.

  • The Gagiana hat was knitted on double pointed needles. This takes a little extra care, particularly when you increase to the maximum number of stitches the pattern called for. I used point ends to ensure that I didn’t lose massive numbers of stitches whenever I lay down my knitting – important as I do a lot of knitting on the commute home each day. This hat is unlined.
  • The Mary Rose cap I wanted to knit quickly, and chose the more convenient (for me) method of using circular needles. This meant that I didn’t have to worry about the hat slipping off the double points as I went around, and I could fold it up and shove it in a bag when travelling. I made this one very quickly – in under two weeks, working in the car on the way home each day.

Wool used.
  • I chose a wool based on the weight suggested in the pattern I had followed, and needle size based on this. My knitting gauge is reasonably spot on, so I didn’t bother making a gauge swatch or felting this. This could have made a very small or very large hat, but I was willing to take the risk at this time – I can always find someone who fits a hat! When selecting wool, I made sure that I looked for a wool that was NOT machine washable – I needed the wool to be able to break down and felt, to some extent, once knitted. Superwash wool that is popular now is designed to be machine washed, and therefore resists felting. My wool came from Morris & Sons – and was chosen based on the colours that we know were used in period, in a wool that looked and felt rugged enough to be felted into a hat, in the correct weight. This was chosen in-store, so I could handle the wool prior to knitting.

Lining
  • The silk chosen for the lining was a medium weight cream woven silk that I had at home. It was chosen mostly as a weave that may have been available in period – neither too smooth nor too rough, and comfortable to line a hat with. I cut out a square, as based on the extant Mary Rose caps. This was then tacked into the brim of the hat, just using a basic whipped stitch. I also ensured that the square had some ‘give’ towards the crown, as the hat needed to go over a head. Silk thread was used to stitch this in.


Second Mary Rose Cap
  • Unfortunately, the Mary Rose cap that I made was too small for its recipient. One size does not fit all. I’ll keep it for myself, as a demonstration, and use it for future classes.
  • I reviewed the Gagiana pattern that I had adapted for the Mary Rose cap, and decided to increase the next hat by two increments. I have called this an XL pattern (with the assumption that a single stitch repeat increment would be a Large size, and the original a Medium). I then wrote out the pattern again in its entirety to ensure that I could follow the new pattern without having to calculate or count rows on the fly.
  • XL Cap has also been constructed on circular needles, again due to ease of use and portability. I knew this hat would need to hold more stitches on the needles, and did not want to additional hassle of trying to keep extra stitches on the points.
  • This hat construction has been a little slower, as my interest waxed and waned and other projects butted in.


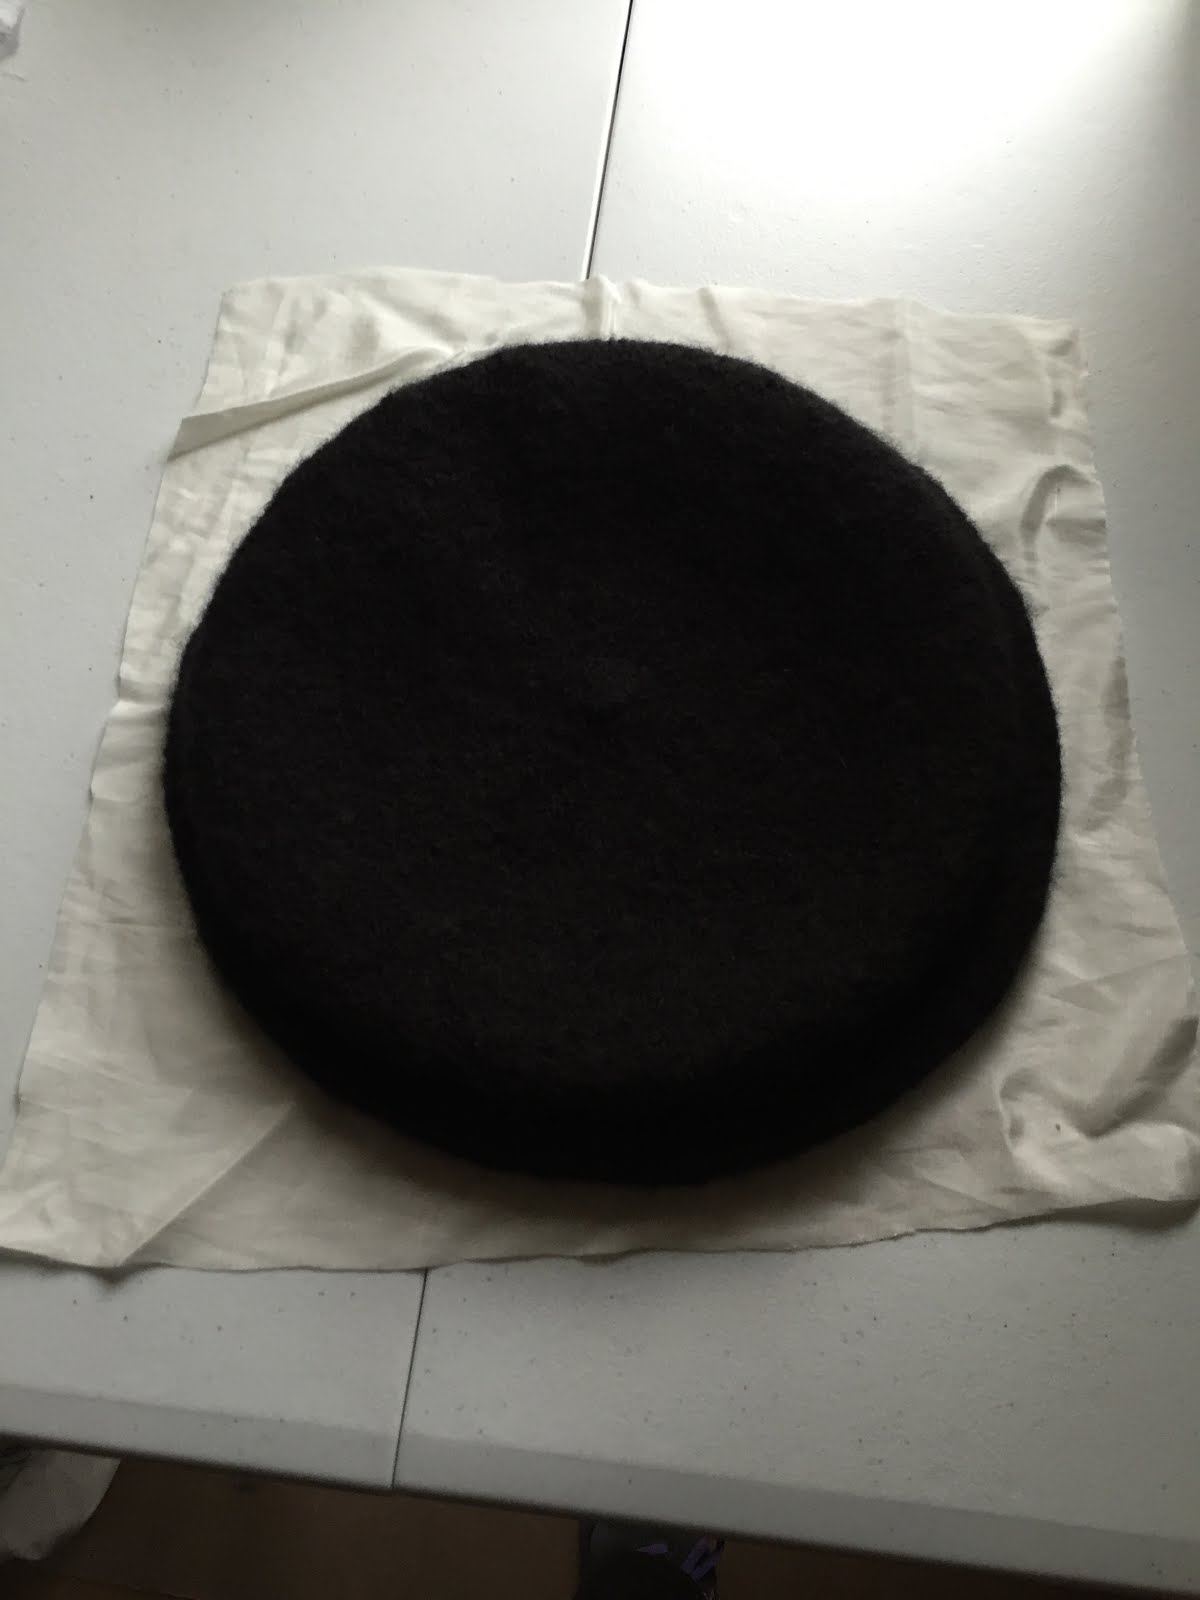
Finished knitted cap.


I decided the hats still weren't felting properly, and bit the bullet - 40 degrees and a longer wash. PERFECT. So good in fact that I went back and re-felted the Gagiana hat, and it's now looking fantastic.


Felted knitted cap

Then came the moment of truth - would it fit?


It's clearly too large for meeeeeeeee....(I of course had to try it on! For science!)


It fits!!! Master Giles looking very pleased with his new hat :)


Some good lessons learned with this iteration - I'm now comfortable in what and how much to felt the hats, and I adapted a pattern (and managed to write it down). I want to make another one now, and experiment with dye - probably using walnuts, but some research required (always).


Pattern for Sailor's knitted cap, as per Mary Rose findings, XL size.

Sailors cap, per mary rose
Notes:
This hat is based on the extant hat from the Gagiana, detailed research and knitting pattern here: http://curiousfrau.com/2009/08/16/recreating-the-gagiana-barett/

I have extrapolated this pattern to knit a sailor’s cap based on extant examples from the Mary Rose.  In addition, alterations have been made to fit Master Giles Leabrook – XL sized hat for 61cm head.
Further details can be found on my blog at: http://quothwinter.blogspot.com/ including details of yarn used and experiments in felting the hat to achieve the correct look and size. Please also note that this hat should be lined, in accordance with the examples surviving from the Mary Rose.
Materials Needed
·       4 ozs Worsted and plied wool yarn, Cascade 220 recommended Historically accurate colors: Black, Red, Ash-colored (Grey), Liver-colored (Brown) and White
·         Set of 5, 7 inch double pointed knitting needles in US Size 5 (Metric size 3.75) , or size needed to reach a knitted in the round and fulled gauge of 10 stitches over 2 inches and 15 rows over 2 inches. Metric gauge, 6 stitches over 3cms and 6 rows over 3 cms
·         Large eyed yarn needle

Gagiana Barett Knitting Instructions

The Barett is made in these steps:
1. Inner crown to outer brim
2. Outer brim to inner crown
3. Two layers of the brim are joined into one
4. Increases for crown of barett
5. Crease made in edge of crown
6. Decreases to finish crown

Inner crown to outer brim
·         Cast on 132 stitches onto 4 needles, 33 stitches onto each needle.
·         Row 1 – 4 : Knit plain in the round
·         Row 5: Knit 7, increase 1 stitch underneath the next stitch, knit 1. Repeat for rest of round, until 4 stitches left, knit last 4 plain.
Stitch count at end of round= 148
·         Rows 5-9 Knit plain in the round
·         Row 10: Knit 8, increase 1 stitch underneath the next stitch, knit 1. Repeat for rest of round, until 4 stitches left, knit last 4 plain.
Stitch count at end of round= 164
·         Rows 11-14 Knit plain in the round
·         Row 15: Knit 9, increase 1 stitch underneath the next stitch, knit 1. Repeat for rest of round, until 4 stitches left, knit last 4 plain.
Stitch count at end of round= 180

Outer brim to inner crown
·         Row 16 – 19: Knit plain in the round
·         Row 20: Knit 9, k2tog. Repeat for rest of round
Stitch count at end of round= 164
·         Row 21-24: Knit plain in the round
·         Row 25: Knit 8, k2tog. Repeat for rest of round
Stitch count at end of round= 148
·         Row 26-29: Knit plain in the round
·         Row 30: Knit 7, k2tog. Repeat for rest of round.
Stitch count at end of round= 132
·         Row 31-34: Knit plain in the round

Two layers of the brim are joined into one.
The goal is to have the two edges joined into one smoothly, getting there can be a little sticky. Using point protectors to prevent the stitches slipping off the needles can save you a lot of frustration.

·         Row 35: Slip first stitch off needle purl wise onto crochet hook. Insert hook into cast on edge of brim, into the bottom of first stitch on the cast on edge, catch yarn and pull through cast on edge and stitch on hook, thus making a new stitch. Repeat for the rest of the row, making sure to move over one stitch in the cast on edge for every stitch you work. When you have about 10 stitches on the hook, slip them off the back onto the free double pointed needle.
·         Alternative joining method (I use this method as I find I’m incredibly clumsy with a crochet hook). Slip 1 stitch knitwise, pick up one stitch from cast on edge, pass slipped stitch over; repeat around.

Increases for crown
·         Row 36 – 39: Knit plain in the round. Row 36 doesn’t need to be untwisted, knit normally.
·         Row 40: Knit 7, increase 1 stitch underneath the next stitch, knit 1. Repeat for rest of round, until 4 stitches left, knit last 4 plain.
Stitch count at end of round= 148
·         Row 41 – 44 : Knit plain in the round
·         Row 45: Knit 8, increase 1 stitch underneath the next stitch, knit 1. Repeat for rest of round, until 4 stitches left, knit last 4 plain.
Stitch count at end of round= 164
·         Row 46 – 49: Knit plain in the round
·         Row 50: Knit 9, increase 1 stitch underneath the next stitch, knit 1. Repeat for rest of round, until 4 stitches left, knit last 4 plain.
Stitch count at end of round= 180

Crease made in edge of crown
·         Row 51: PURL one round
Note: This can be knitted, but you won’t get as sharp an edge. I prefer to KNIT this round and press it with an iron flat, after felting.

Decreases to center of crown and castoff!
·         Row 52-54: Knit plain in the round
·         Row 55: Knit 8, k2tog. Repeat for rest of round
Stitch count at end of round= 162
·         Row 56-59: Knit plain in the round
·         Row 60: Knit 7, k2tog. Repeat for rest of round
Stitch count at end of round= 144
·         Row 61-64: Knit plain in the round
·         Row 65: Knit 6, k2tog. Repeat for rest of round
Stitch count at end of round= 126
·         Row 66-69: Knit plain in the round
·         Row 70: Knit 5, k2tog. Repeat for rest of round.
Stitch count at end of round= 108
·         Row 71-74: Knit plain in the round
·         Row 75: Knit 4, k2tog. Repeat for rest of round
Stitch count at end of round= 90
·         Row 76-79: Knit plain in the round
·         Row 80: Knit 3, k2tog. Repeat for rest of round.
Stitch count at end of round= 72
·         Row 81-84: Knit plain in the round
·         Row 85: Knit 2, k2tog. Repeat for rest of round
Stitch count at end of round= 54
·         Row 86: Knit plain in the round
·         Row 87: Knit 1, k2tog. Repeat for rest of round.
Stitch count at end of round= 36
·         Row 88-89: Knit plain in the round
·         Row 90: Knit 1, k2tog. Repeat for rest of round.
Stitch count at end of round= 24
·         Row 901: Knit plain in the round
·         Row 92: Knit 1, k2tog. Repeat for rest of round.
Stitch count at end of round= 16
·         Row 93: Knit plain in the round
·         Row 94: Knit 1, k2tog. Repeat for rest of round.
·         Row 95: Knit plain in the round
·         Cut yarn 15 inches from work, thread needle with yarn and thread through remaining stitches. Weave yarn and any other loose yarn ends into the back the knitting and trim close.

Felt hat according to instructions from the Gagiana Barrett. http://curiousfrau.com/2009/08/16/recreating-the-gagiana-barett/

Georgia Winter / Honore Corbaut 2016.
http://quothwinter.blogspot.com.au/